“Organic Beauty Recipes By Eve – The Complete Guide To DIY Natural Beauty” is my long-awaited book, with a treasure trove of effective and easy to follow recipes with 100% natural ingredients.
You can order the ebook now on amazon for only $4.99 or get the paperback edition for $19.99 (USD).
I also launched my own small business offering all-natural raw shea Butter! Every time you purchase my Shea butter, you are supporting the Ghana women coop which employs 95 women and buys shea nuts from more than 5,000 women in 44 communities.
Lastly, check out my favorite shopping lists on Amazon . I will receive a small commission from the affiliate program Amazon if you order something and this is at no additional cost to you.
Thank you for your support!
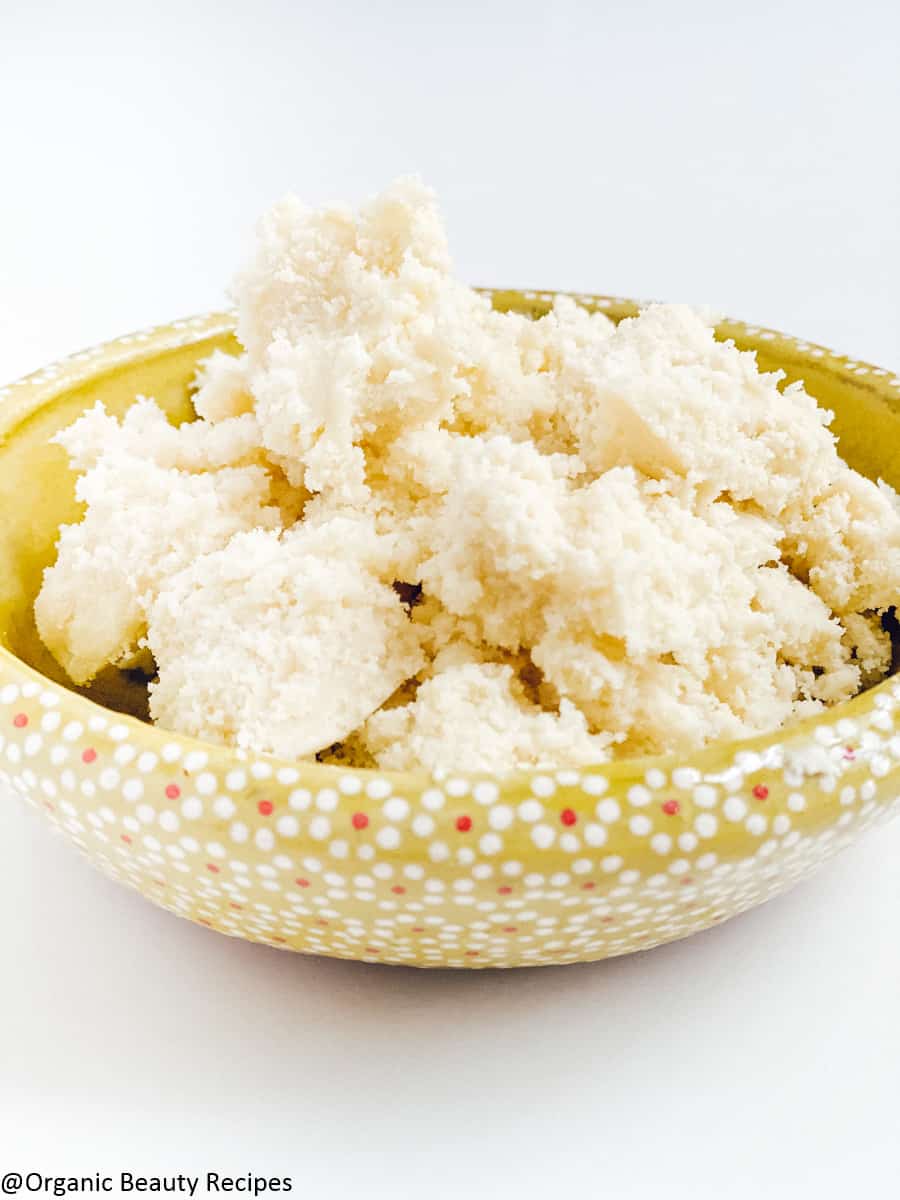
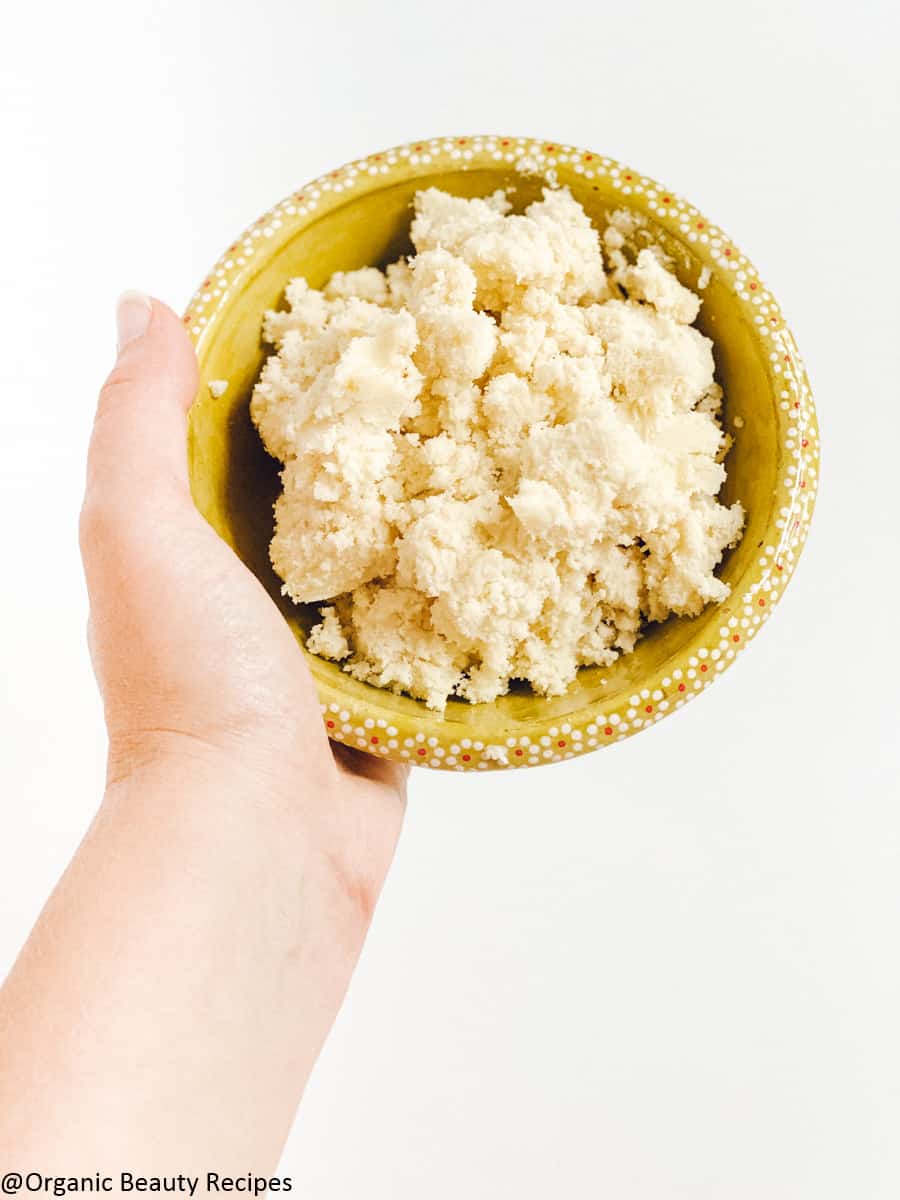
You see those white little dots in your shea butter and it feels gritty and grainy? The good news is that grainy shea butter is very easily fixable. It involves remelting grainy shea butter with a double boiler and doesn’t require a lot of time or effort. I’ll also be talking about how to prevent grainy shea butter all together in this blog post.
Shea butter is hands down one of nature’s best beauty offerings – where else can you find so many amazing skins benefits all wrapped up in a single ingredient? I absolutely love incorporating it in my recipes whenever I can and benefiting from its miraculous moisturizing and rejuvenating properties.
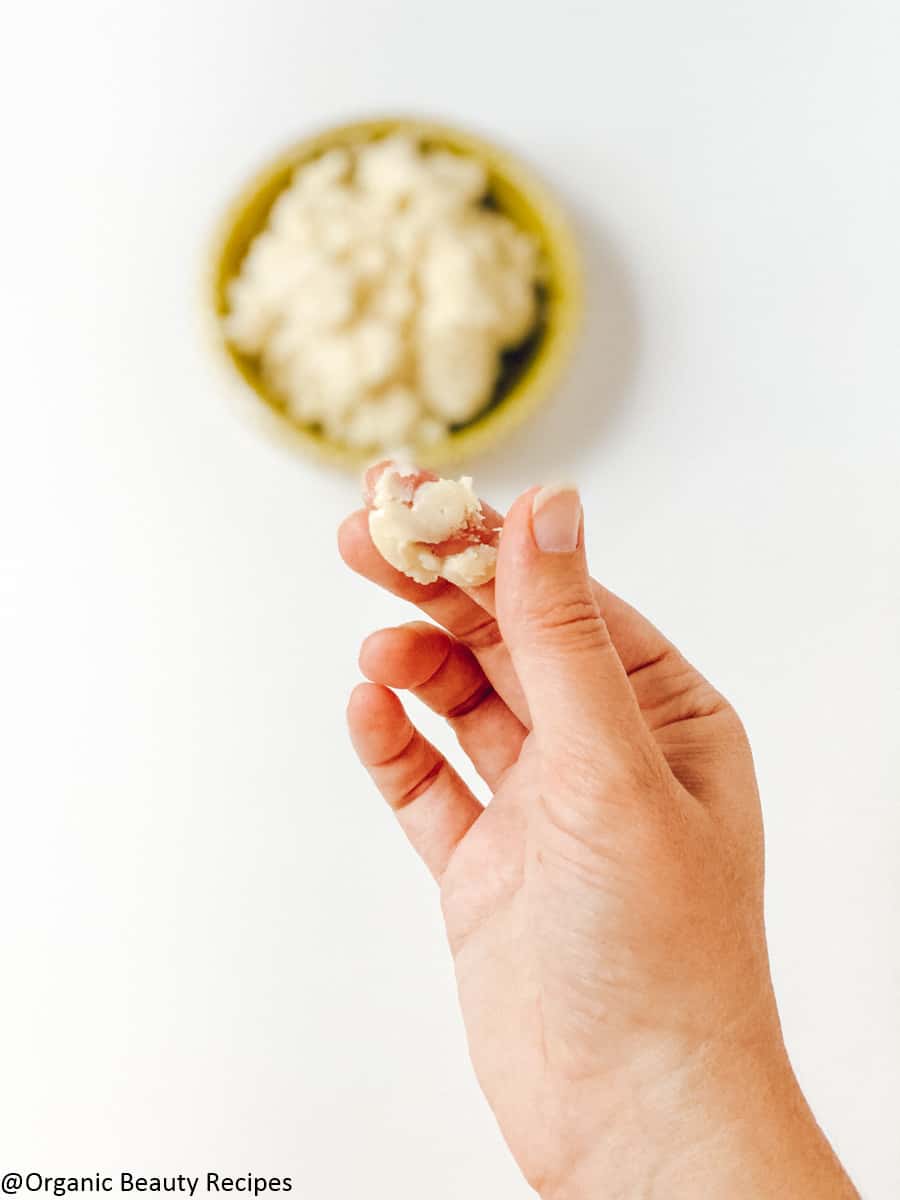
But what often puts a damper on my excitement in using shea butter-based products is that grainy texture that tends to sometimes develop in the finished homemade product. While it isn’t harmful to use and still has the same qualities, the texture isn’t pleasant to slather on your face or body.
So read on to find how to fix grainy shea butter!
What causes shea butter to be gritty?
So what exactly is grainy shea butter? And what causes it to become that way?
Shea butter contains high concentrations of a number of essential fatty acids—namely arachidic acid, lauric acid, linoleic acid, linolenic acid, oleic acid, palmitic acid, and stearic acid. Each of these fatty acids has its own unique melting, cooling point and solidifying temperature.
So when your shea butter undergoes this whole cycle of melting, cooling and then solidifying,—this could be while it’s being shipped to you, if you experience temperatures above 75 degrees F, or if you’re melting it to concoct a DIY skincare product— some grains or molecules of the butter cool off faster than the rest. The fatty acids that have separated and cooled off first tend to become more solid than the shea itself, lending the shea a grainy, gritty texture.
But while this grainy texture might be pretty displeasing to apply on your skin, the good news is that it does not mean that your shea butter has gone bad—it’s really just the separation of fatty acids and it does not affect the quality of the shea in any way.
How to fix grainy shea butter?
If you regularly experience high temperatures, especially during the summer months, it can be a bummer to find your whipped body butter, homemade lip balm, or other butter-rich products developing that annoying grainy texture.
But before you decide to chuck the whole thing out, hear this: Your gritty shea butter problems are fixable. And here’s how to fix it below!
Ingredients
- 1 cup shea butter
- 1 double boiler
Instructions
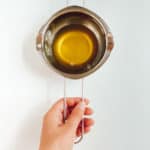
- Melt your shea butter down using the double boiler method. Put the shea butter in the double boiler on low to medium heat. The double boiler should be resting on a pan filled with water.
- Since some grains have a higher melting point than others, it may take you a while till all grains have melted completely and you achieve that desired liquid consistency.
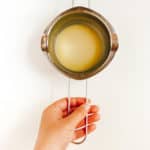
- Once the shea butter is totally liquefied, transfer your butter to a jar and put it in the freezer for 30 minutes. The point here is to quicken the whole cooling and solidifying process, which will prevent the formation of those grainy bits.

- Once your shea butter has solidified completely, take it out of the freezer and store it in a cool place, away from heat and moisture. You might want to consider keeping the butter in the fridge (not freezer) if the place you live gets temperatures above 75F. This will help the shea maintain its smooth texture.
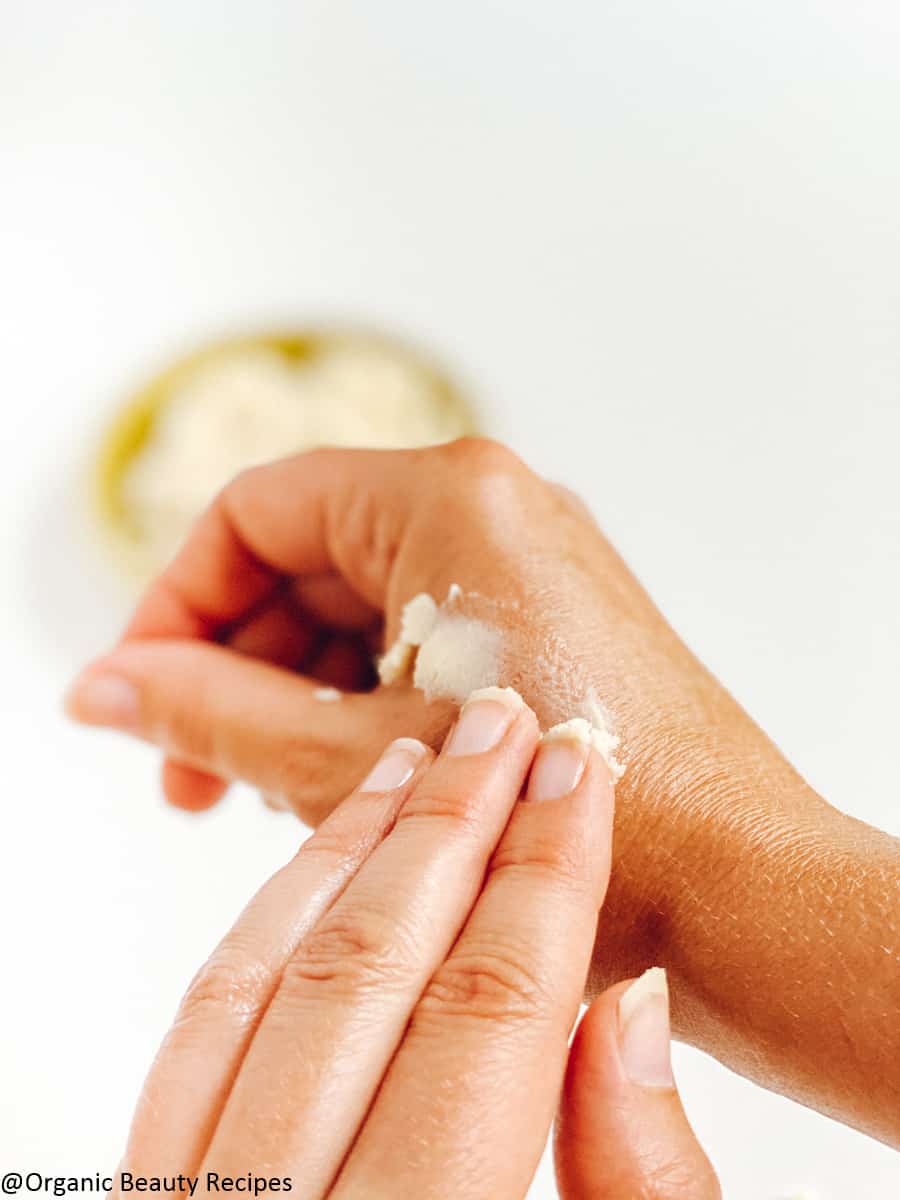
- You can also decide to whip the shea butter with an electric mixer. If you want to whip it, wait another 30 minutes until it starts to soften a bit and whip for 2 minutes.
- Note: Be sure to store your butter or whipped body butter products in an airtight container, away from sunlight or heat. This will help extend your products’ shelf life.
Does it matter if the Shea Butter is refined or unrefined?
Honestly, in all my years of experimenting with shea butter recipes, I haven’t found a difference between refined and unrefined shea butter where graininess is concerned. Both can develop a gritty texture if not stored at the right temperature.
Refined shea butter is the filtered, chemically altered version of unrefined butter. It has been bleached and deodorized to make it more aesthetically pleasing. The final product has a white color and doesn’t hold the strong nutty aroma of natural shea.
Having said that, I prefer to use unrefined shea butter in all of my DIY recipes, since it retains all of the healing, nutritive and moisturizing properties of natural shea.
And we’d want to include as much of that original goodness in our homemade natural recipes as we can, wouldn’t we?
if you are looking for inspiration, take a look at my 24 easy shea butter recipes!

I hope you have enjoyed my recipe, please share the love and rate ***** in the comments below!

I’m Eve, a DIY organic skincare recipe creator since 2010 that loves to make a big mess in the kitchen!
I’ve embarked on a journey to empower women to ditch all the chemical-filled commercial beauty products and to share how to make your own organic beauty recipes at home towards a healthier lifestyle.
Homemade face & body creams, body butter, lips balms, face masks, shampoos, and all-natural perfume will have no more secret for you!
I am self-taught, read many books, and spend many hours in the kitchen creating brand new homemade beauty recipes. All my recipes are unique and are tested on humans!
In 2016, I studied Aromatherapy and became certified by the School of Natural Health Sciences.


Hi Eve, this was so well timed, I discovered the grainy texture just as you posted!! . I have yet to make a new batch but can see how to avoid next time.
Do you have any information on shampoo and conditioning bars? Hydrating ones ideally?? Anything to be aware of or avoid or indeed include?
Thank you very much in advance! Loving your emails!! ❤️
Author
I am so glad this blog post on shea butter was timely and useful AnnMarie!
I have a shampoo bar recipe that is fairly easy to do https://www.organic-beauty-recipes.com/diy-shampoo-bar-without-lye/
I will put it on my list to create more tho!