“Organic Beauty Recipes By Eve – The Complete Guide To DIY Natural Beauty” is my long-awaited book, with a treasure trove of effective and easy to follow recipes with 100% natural ingredients.
You can order the ebook now on amazon for only $4.99 or get the paperback edition for $19.99 (USD).
I also launched my own small business offering all-natural raw shea Butter! Every time you purchase my Shea butter, you are supporting the Ghana women coop which employs 95 women and buys shea nuts from more than 5,000 women in 44 communities.
Lastly, check out my favorite shopping lists on Amazon . I will receive a small commission from the affiliate program Amazon if you order something and this is at no additional cost to you.
Thank you for your support!
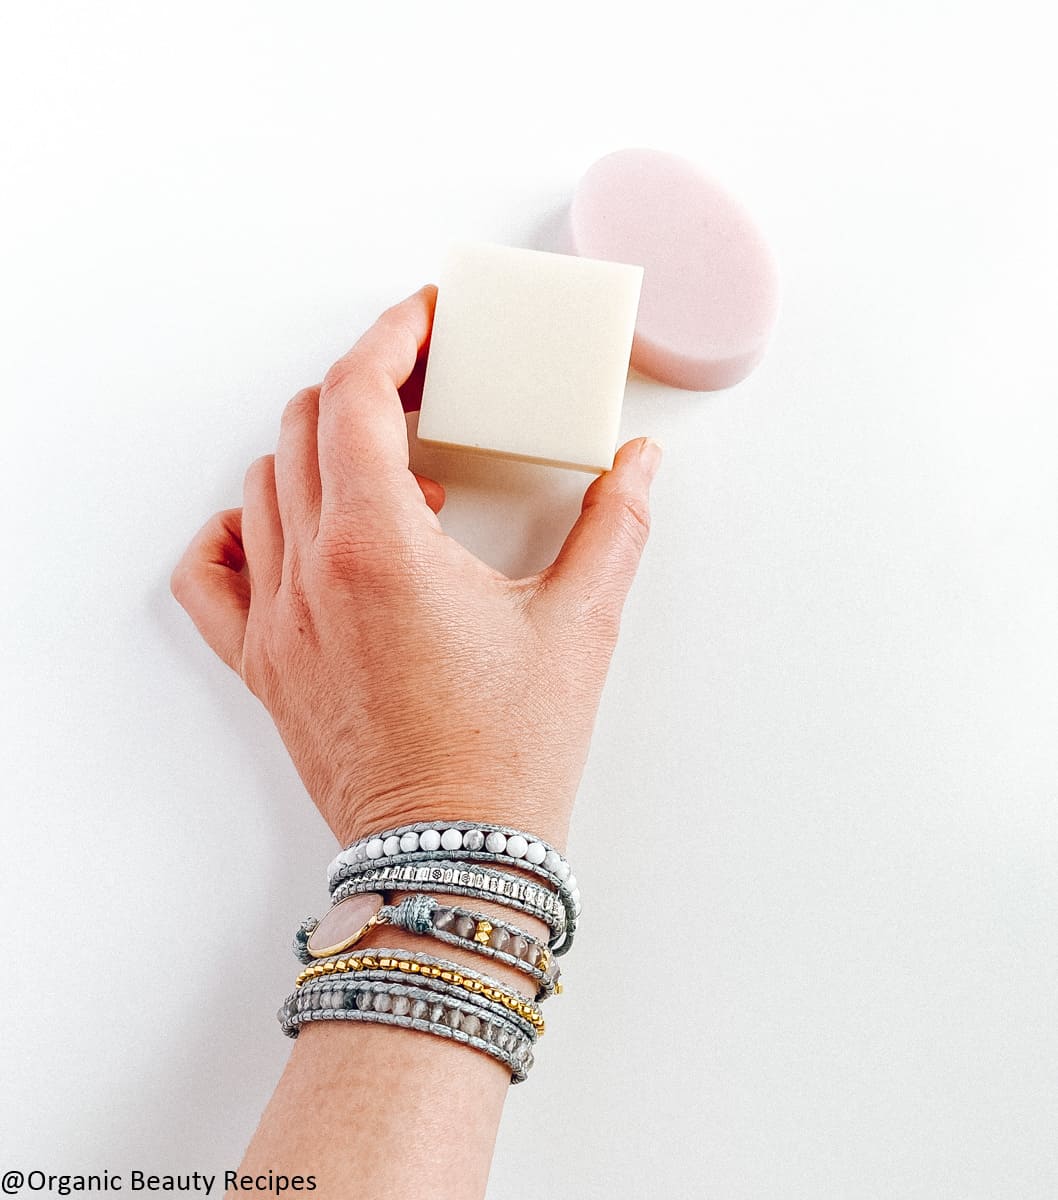
I’ll share how to make DIY Shea butter soap recipes 2 different ways: the melt and pour process with a soap base, and the cold process. I’ll be explaining the benefits and pros and cons of each method.
Method 1 – The Melt and Pour Process
If you’re a beginner, this is the easiest, cleanest way to make soap. Usually, making soap requires working with lye, a strong alkaline solution. It’s a bit complicated and can be hazardous, so it requires safety gear.
In the melt and pour process, the soap base has already gone through saponification (simply put: heating up fat or oil to convert it into soap), so lye is not needed to be handled.)
Pros of melt and pour soaps
- What I like about, melt and pour soap is that it creates beautiful, straight layers.
- It also makes translucent soap if you use the glycerin melt and pour – which makes glitter and shimmery micas shine through.
- its super easy to make, safe for a children activity, all you need to do is melt and pour!
- Very fast way to make soap!
Cons of melt and pour soaps
- There are minor details that you should keep in mind. Since saponification has already occurred, you cannot really customize the base and choose the oil/butter.
- Most of the time, there are added preservatives like potassium sorbate which I try to stay away from, even if they are in very small quantities!
- When heating the shea butter melt and pour soap base, you need to make sure the soap doesn’t burn, as it can make it too thick. The melt and pour soap also contains extra glycerin, which can cause unwanted sweating.

Method 2 – The Cold Process
Cold Process soaps are also considered more organic in nature. They’re thick in texture and great for suspending heavier additives.
Pros of the cold process soaps
- An advantage of the cold process is that it allows you to customize all the ingredients of your soap, be it the type of milk you want, to the type of vegetable or fruit puree you prefer.
- It also allows for various techniques. During the process, you can make beautiful swirls and luscious frosting on your soap. With so many options, you can really go crazy. Your soap is truly your canvas!
- It’s more cost-efficient usually to make soap from scratch in bigger batches, that is depending on the ingredients you use!
Cons of the cold process soaps
- With the cold process, lye is a crucial ingredient, which is complicated to manage. Learn how to handle lye safely here.
- The clean-up process can also be time-consuming if you use a lot of colors in your soap.
- Another issue is that the soap takes about 4-6 weeks to cure, so you better be patient!
We know that the cold process is more complicated than the melt and pour process, but the results surely make it worth it!

Is shea butter good for soap making?
I can’t think of anything better than shea butter for soaps. It’s a great ingredient for soap making and has fantastic skin benefits.
What does shea butter do in cold process soap?
Since shea butter is high in stearic and oleic acids, it produces a long-lasting, firm soap. It contains a few unsaponifiable (components that can’t be turned into soap), which makes it a great ingredient in the cold process.
How do you make shea butter soap without lye?
The melt and pour process makes soap without using lye as a core ingredient because it has already gone through the saponification process (with lye). The advantage of the melt and pour soap method is that you do not have to handle lye. You just have to buy the melt and pour soap base.
Shea butter soap recipes without palm oil
If you are looking to make shea butter soap without palm oil, then Cocoa butter at about 15% is a great substitute for palm oil. You can also use coconut oil, making sure that it isn’t more than 30%.
What’s wrong with using palm oil in soap?
The palm oil industry is linked to severe environmental issues, such as deforestation and climate change. Since there are equally beneficial and sustainable substitutes for palm oil, it’s best to steer clear from using it.

Benefits of shea butter in soap recipes
- Since it’s 100% natural, it’s great for sensitive skin
- Highly concentrated in fatty acids and vitamins, it does a wonderful job at hydrating the skin without clogging pores
- Its anti-inflammatory properties help heal and condition the skin
How to make shea butter soap
There are two methods – the melt and pour process and the cold process as I mentioned above. Let’s dive into the two shea butter soap recipes!
1) The Shea Butter Soap Recipe – Melt and pour
It’s an easier method, as it does not include the handling of lye as an ingredient.
Key Ingredients shea butter soap recipe – melt and pour
- Glycerin Melt and pour soap base
- Shea butter: A popular cosmetic ingredient for centuries, shea butter originally comes from West Africa. It’s known for its hydrating properties and leaving the skin supple.
- Rhassoul Clay (optional): Found in the Atlas Mountains of Morocco, rhassoul clay is silky in texture. Not only does it nourish the skin, it’s great for removing impurities from the skin.
- Vegetable glycerin: it’s an emollient and used here in soap melt and pour to mix the clay so there are no lumps!
- Essential Oils (optional): Choose any essential oil and add a total of 30 drops to give a beautiful aroma to your soap
- Rose Geranium Essential Oil: Tightens and brightens the skin, and can be used to treat bacterial acne.
- Rosewood Essential Oil: It has wonderful antibacterial and antifungal properties, making it gentle enough for any skin type.
- Frankincense Essential Oil: Great for regulating excess oil in your skin and fighting acne.

Ingredients
- 1 cup melt and pour organic soap base
- 1 tablespoon shea butter
- 1/4 teaspoon Rhassoul Clay (or green, pink, or bentonite clay works too)
- 1 teaspoon vegetable glycerin
- 10 drops rose geranium essential oil optional
- 10 drops rosewood essential oil optional
- 10 drops frankincense essential oil optional
- 1 Silicone mold
- 1 double boiler
Instructions
- Cut the melt and pour soap base into small cubes so they melt faster.

- Add them to your double boiler on low to medium heat (basically an aluminum or pyrex recipient in a pan filled with warm water)

- Add the shea butter and continue steering until the soap base is melted.
- Once melted, remove from the heat.

- Add the clay that has been mixed with the vegetable glycerin so there are no lumps, mix well.
- Add essential oils if desired, mix well.
- Pour in the silicone mold straight away.

- Spray pure alcohol on top of the soap to get rid of the bubbles if any.
- Let dry and cool down for 24h hours before un-molding. Voila, your melt and pour shea butter soap is ready to use!

2) The shea butter soap cold process recipe
My recipe below is inspired by this natural carrot soap recipe, from lovelygreens.com and is without palm oil. It makes about 6 soap bars.
Key Ingredients shea butter soap recipe – cold process method
- Lye (Sodium Hydroxide): The key ingredients to make soap!
- Coconut Oil: Its fatty acids possess antimicrobial properties that can effectively treat acne and reduce inflammation
- Shea Butter: Deeply hydrates the skin without clogging pores
- Castor Oil: The essential fatty acids that castor oil contains helps restore the skin’s natural moisture balance
- Olive Oil: Protects the skin for premature aging, environmental damage and inflammation
- Oat Powder (optional): Rich in antioxidant properties, it can remove dead skin cells, soak up excess oil, and deeply exfoliate your skin.

Ingredients
- 64 g sodium hydroxide (LYE)
- 120 g filtered water
- 145 g coconut oil
- 55 g organic shea butter
- 225 g olive oil
- 30 g castor oil
Instructions
- Protect yourself against lye as it is corrosive. Wear long-sleeves, pants, shoes, eye protection and rubber gloves.
- Put the water in a deep pot. Dissolve the lye (Sodium hydroxide) crystals in the water and stir well. Make sure you do not breathe the fumes as they are toxic and do this in a place that is well ventilated (by an open window for example), away from children or pets.
- Leave the lye-solution in a safe place like your sink filled with cold water so it cools down.
- Melt the butter and oils in a double boiler on low heat. When melted, remove from the heat.
- This is an important step, you need to measure the temperatures of the lye-water and the oils and they should be both around 100°F / 38°C.
- Then, carefully pour the lye solution into the pot of oils where you will be making soap. Make sure the pan is deep enough. Dip your immersion blender into the pan all the way at the bottom to avoid splashes and with it turned off, gently stir the mixture until it is well blended.
- Blitz the mixture for just a couple of seconds. Turn it off and stir the soap batter, using the blender as a spoon. Repeat until the mixture thickens and reaches what we call 'Trace'. This is when the soap batter leaves trails or "traces" on the surface. The consistency should be like thin custard at first but it will thicken quickly so make sure to work fast after this point.
- Pour the soap into the mold and leave it on the same safe surface for a week.
- Please note that soaps that are high in olive oil tend to be soft at the beginning and turn very hard once the curing phase is over. After unmolding the soap, you will need to cure them for six weeks. Do not touch them and leave them alone in a dark airy place so the soap hardens.
- Once the 6 weeks are over, you can then cut your soap and enjoy them! If they are still a bit wet, then leave them for another 2 weeks to dry.
Notes

SAFETY MEASURES WHEN MAKING SOAP
- Wear protective clothing (long sleeves and trousers).
- Put on thick rubber gloves.
- Wear protective goggles and a mask when working with the lye.
- Make sure children and animals are not in the same room.
- Keep a window open for ventilation of the lye fumes and do not breathe the fumes as they are toxic.

I hope you have enjoyed my recipe, please share the love and rate ***** in the comments below!

I’m Eve, a DIY organic skincare recipe creator since 2010 that loves to make a big mess in the kitchen!
I’ve embarked on a journey to empower women to ditch all the chemical-filled commercial beauty products and to share how to make your own organic beauty recipes at home towards a healthier lifestyle.
Homemade face & body creams, body butter, lips balms, face masks, shampoos, and all-natural perfume will have no more secret for you!
I am self-taught, read many books, and spend many hours in the kitchen creating brand new homemade beauty recipes. All my recipes are unique and are tested on humans!
In 2016, I studied Aromatherapy and became certified by the School of Natural Health Sciences.


Hello Ève,
I just received your book from Amazon and I would like to know if you would be nice to recommend a provider of organic products so I ca make my own beauty products.
Many thanks